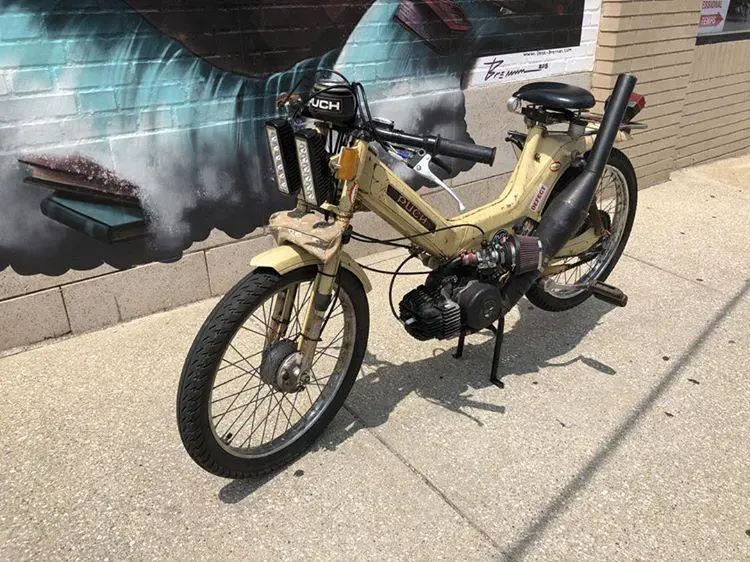
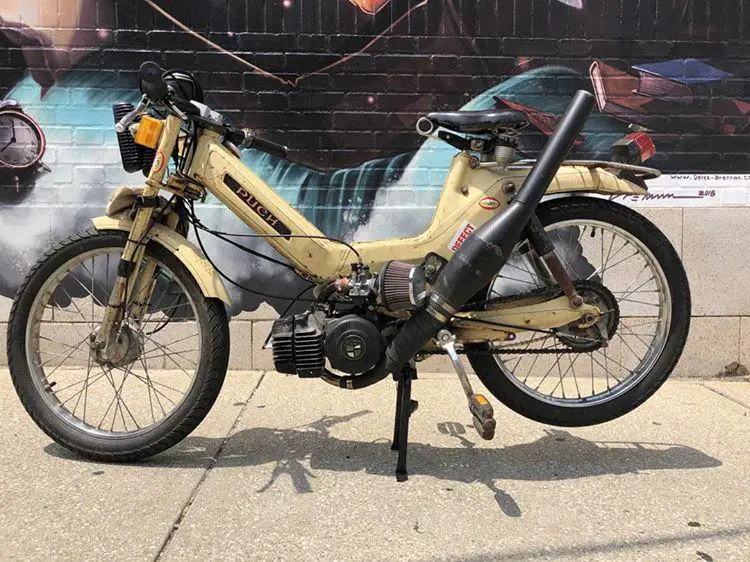
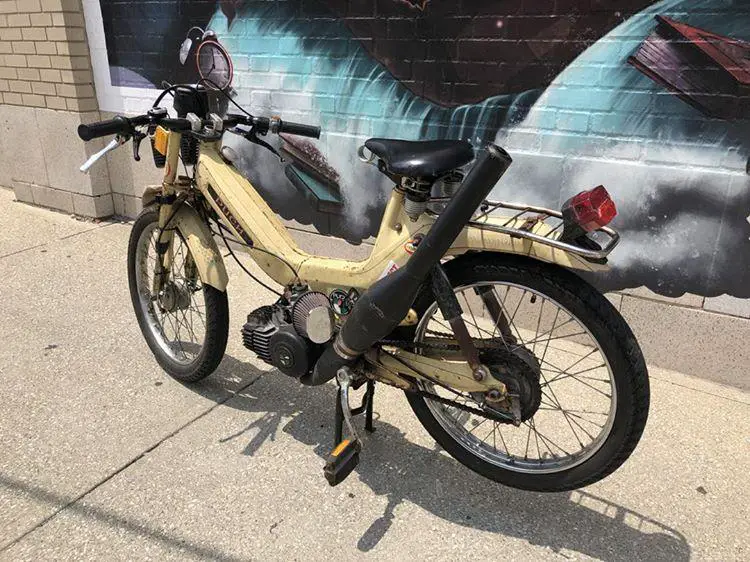
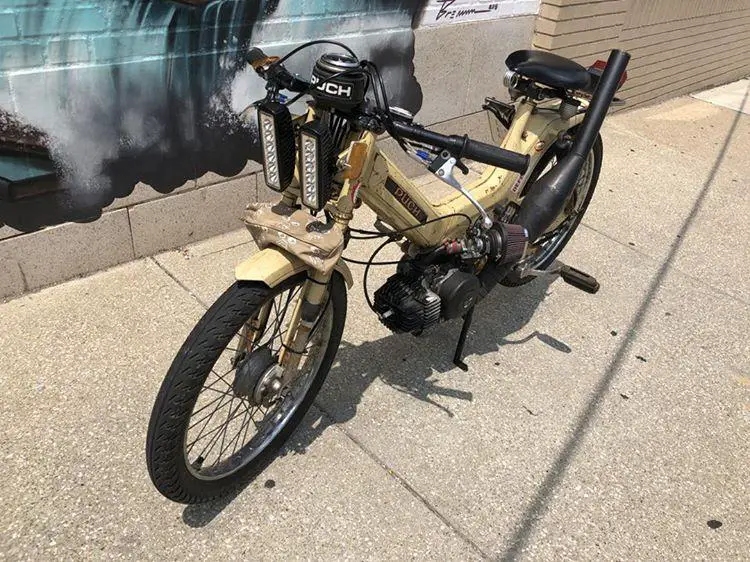
A custom Puch Maxi vintage moped from Jacob (https://www.instagram.com/stretchedpeds/). Puch Maxi vintage mopeds have a 2 stroke engine. Most come with the E50 single speed 1 or 1 1/2 horse power motor. Top speeds on the stock E50 for vintage puch mopeds are 20, 25, or 30 miles per hour. With some modifications or performance parts, a higher top speeds can be reached.
PUCH MAXI VINTAGE MOPED APPEARANCE
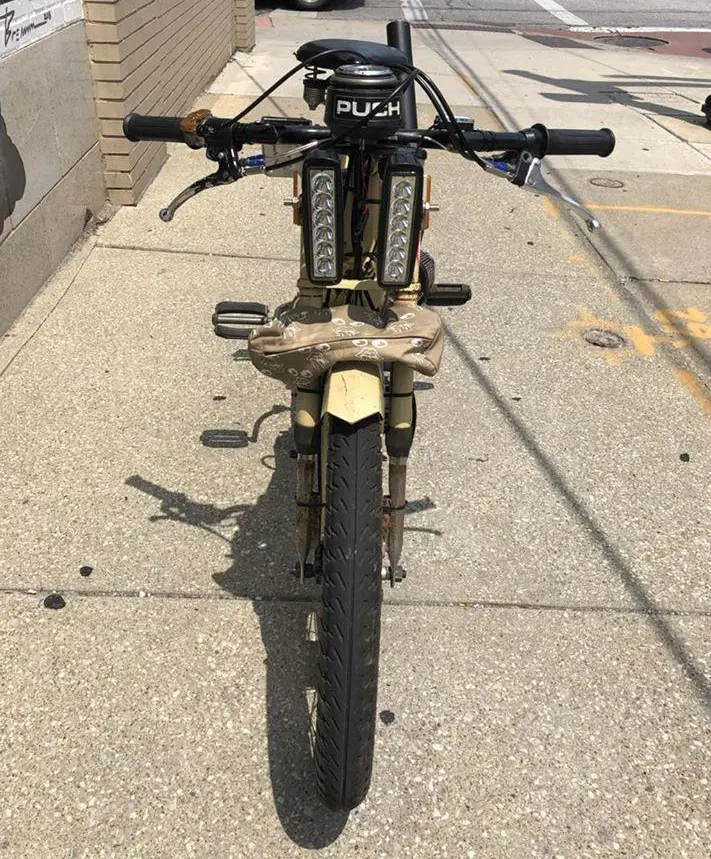
Yellow/patina | Spoke wheels | Cut fenders | OEM forks | Chrome moped M handlebars | Lusito throttle and grips | OEM levers | 2X 6 INCH 18W LED lights for headlights | OEM speedo | LED tail light | Trail Tech digital temperature gauge | Vintage saddle with springs |
PUCH E50 ENGINE
Puch E50 | New bearing and seals | 70 cc Treats reed kit | High high compression head | Polini 2 petal reed block | 21mm MLM intake | 21mm Dellorto PHBG carburetor |Gigantor gladiator chamber on a Tomos header | OEM points | Treats super stuffy crank | OEM braced and lightened 2 shoe clutch | Kickstart clutch springs | 16 x 40 gearing |
MOPED 12 VOLT WIRING
To run LED lights a plexiglass bracket is made into a mount so that nothing can touch ground. Then take the power wire from the 12 volts treats lighting coil and connect one end to a bridge rectifier. The second connection on the rectifier gets ran to a ground connection. Next from the rectifier connections are made to a 12 volt DC voltage regulator. Positive lead of the rectifier connect to the positive lead on the regulator. The negative lead form rectifier to the negative connection on the regulator.
An important note for running LED lights is to put a capacitor across the positive and negative between the rectifier and the regulator. This helps filter and smooth the DC signal so that your lights don’t flicker. The flickering effect causes the LED lights to burn out.
The final step is to connect the positive connections from the lights to the positive connection on the regulator. Do the same for the negative wires. It is important to not ground the negative to the frame and to ground it to the negative connection on the regulator.



No comments